Add, Delete, View, and Switch Tenants
Before you begin
- You have the Organization Admin role.
- You have installed the CLI and are logged into CD-as-a-Service.
Create tenants
Every organization has a main tenant. You can create one or more additional tenants using a YAML config file and the CLI. Your YAML file should have the following structure:
tenants:
  - <tenant-name-1>
  - <tenant-name-2>
Run the following command to add those tenants:
armory config apply -f <path-to-tenant-config.yaml>
Example
In the following example, you create tenants for two applications and a sandbox.
Create a file called
config.yaml.Add the following content:
tenants:
  - potato-facts-app
  - sample-app
  - sandbox
Save your file.
Run the following command from the directory where you saved your
config.yamlfile:armory config apply -f config.yamlOutput should be:
Created tenant: potato-facts-app
Created tenant: sample-app
Created tenant: sandbox
Confirm your tenants have been added:
armory config getOutput should be:
tenants:
 - main
 - potato-facts-app
 - sample-app
 - sandbox
View tenants
Non-Admin users only see tenants that they belong to. If users don’t have a role belonging to a particular tenant, they don’t see those tenants.
You can use the CLI to view your tenants:
armory config get
Output shows the list of tenants. When you only have access to the default tenant, the output is:
tenants:
 - main
You can also use the UI to view the list of tenants you can access. See the Switch tenants section.
Delete a tenant
Contact a CD-as-a-Service Dev Advocate if you need to delete a tenant.
Switch tenants in the UI
You use the UI to switch to the tenant whose resources you want to see. CD-as-a-Service only displays the *Switch Tenants user content menu item when you have access to more than one tenant.
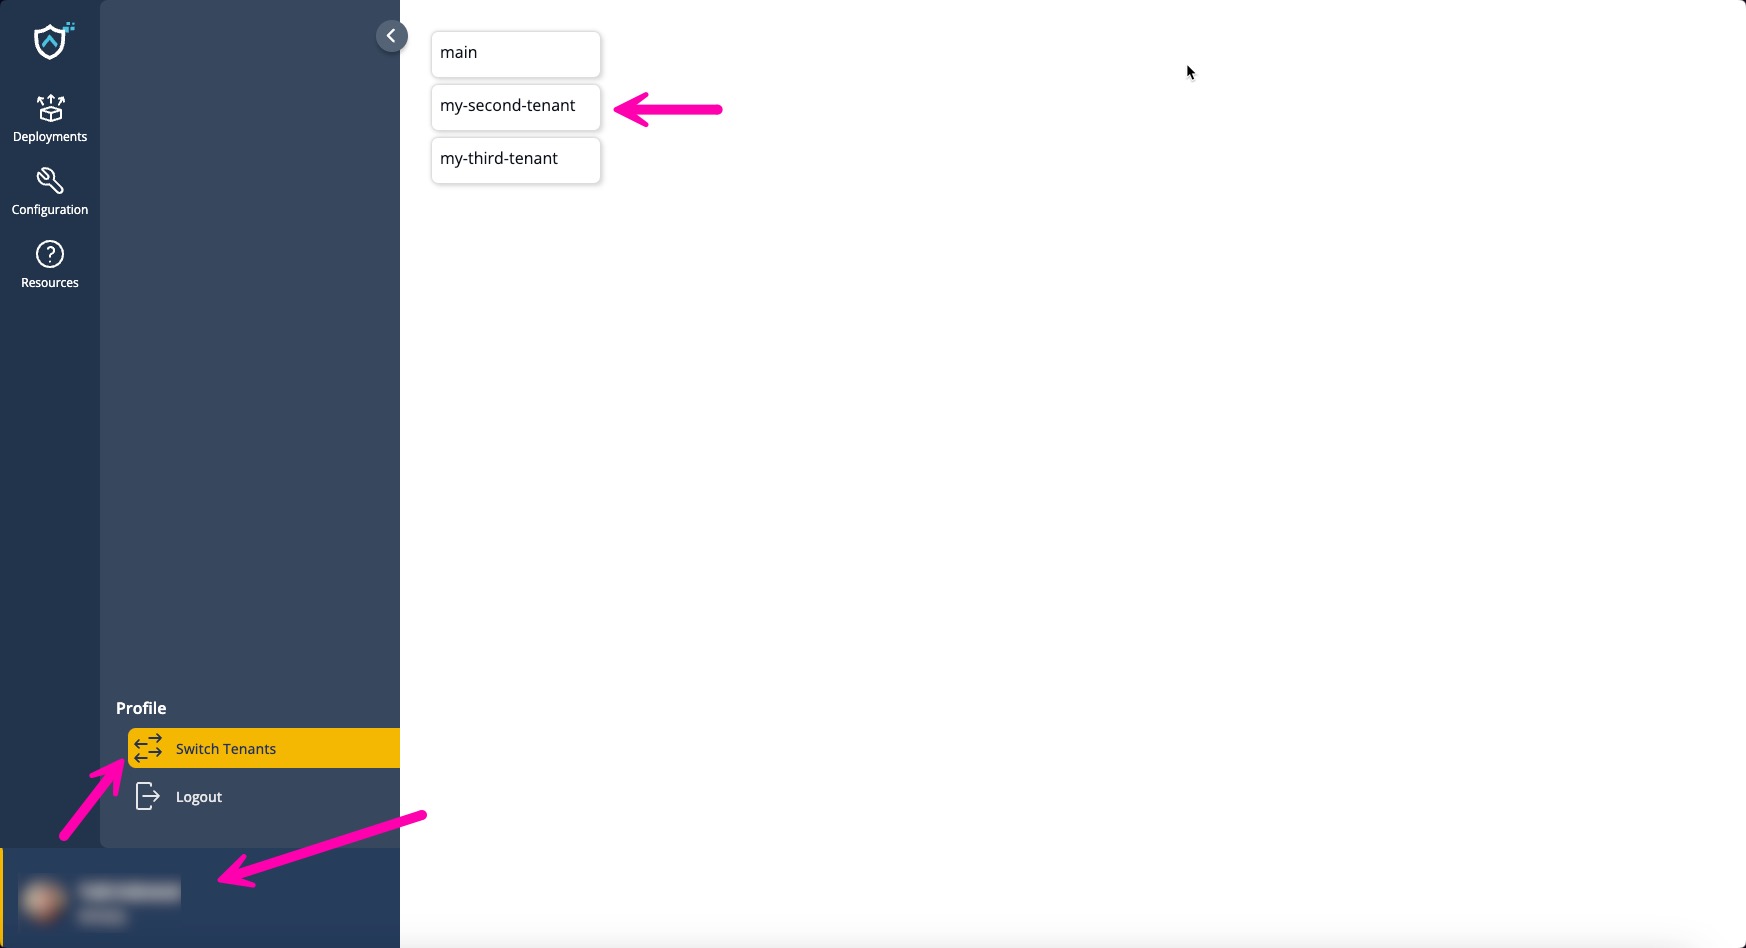
- Access your user context menu.
- Click the Switch Tenant button.
- Click the tenant you want to switch to.
Feedback
Was this page helpful?
Thank you for letting us know!
Sorry to hear that. Please tell us how we can improve.
Last modified December 13, 2023: (f6afb21)